In modern manufacturing, the glue dispensing machine process plays a critical role in ensuring precision, consistency, and production efficiency. From material preparation and machine calibration to controlled dispensing and curing, every step directly impacts product quality and reliability. A well-optimized dispensing process not only reduces material waste and labor costs but also guarantees repeatable, high-accuracy results across large-scale production. Understanding this workflow is essential for manufacturers aiming to improve bonding performance and streamline operations.
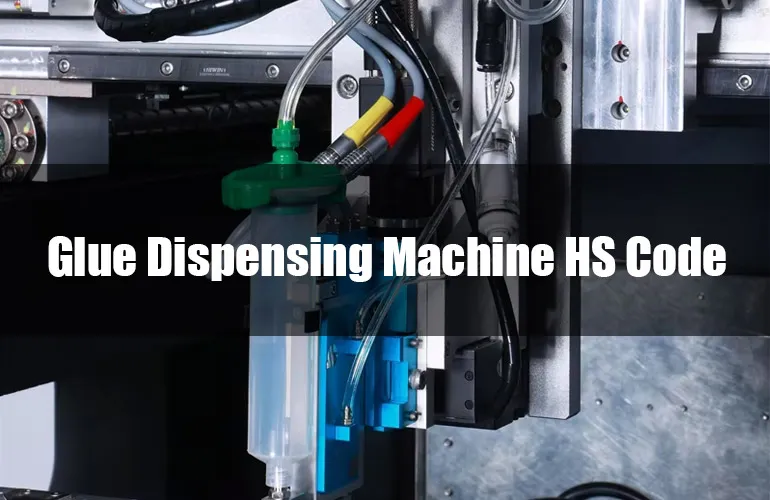
Glue Dispensing Machine Process: Step-by-Step Industrial Workflow Guide
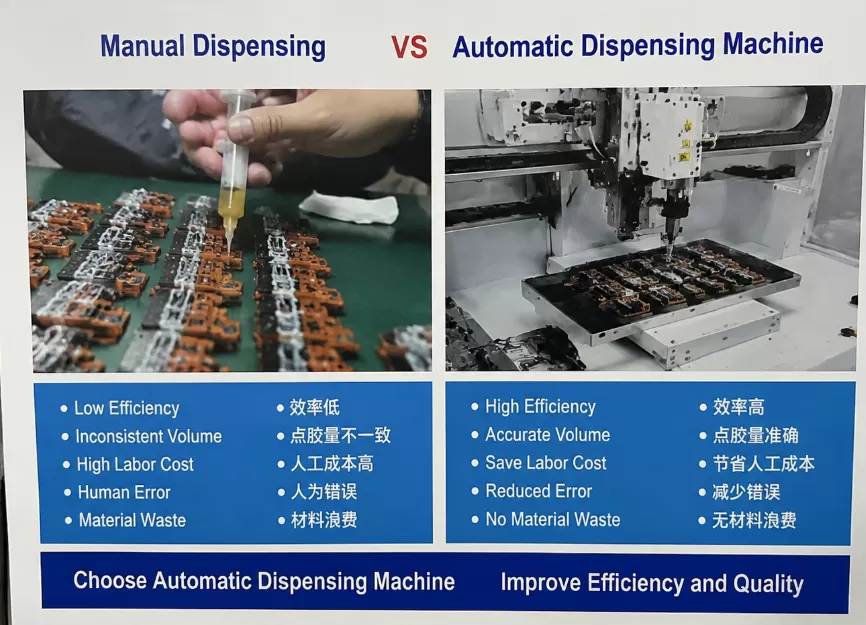
In our factory, the glue dispensing machine process is not just about applying adhesive — it’s about precision, consistency, and process control. Over the years, I’ve seen how the right dispensing process can improve product quality, reduce waste, and increase overall production efficiency. Let me walk you through how we approach it in a practical and professional way.
1. Material Preparation
Everything starts with the adhesive itself. Whether we are working with epoxy resin, silicone, UV glue, or AB two-part adhesive, we first confirm:
- Viscosity level
- Mixing ratio (for two-component glue)
- Pot life and curing time
- Storage conditions
For two-component systems, we use precise metering pumps to ensure accurate mixing ratios. Any deviation here can directly affect bonding strength and curing performance.
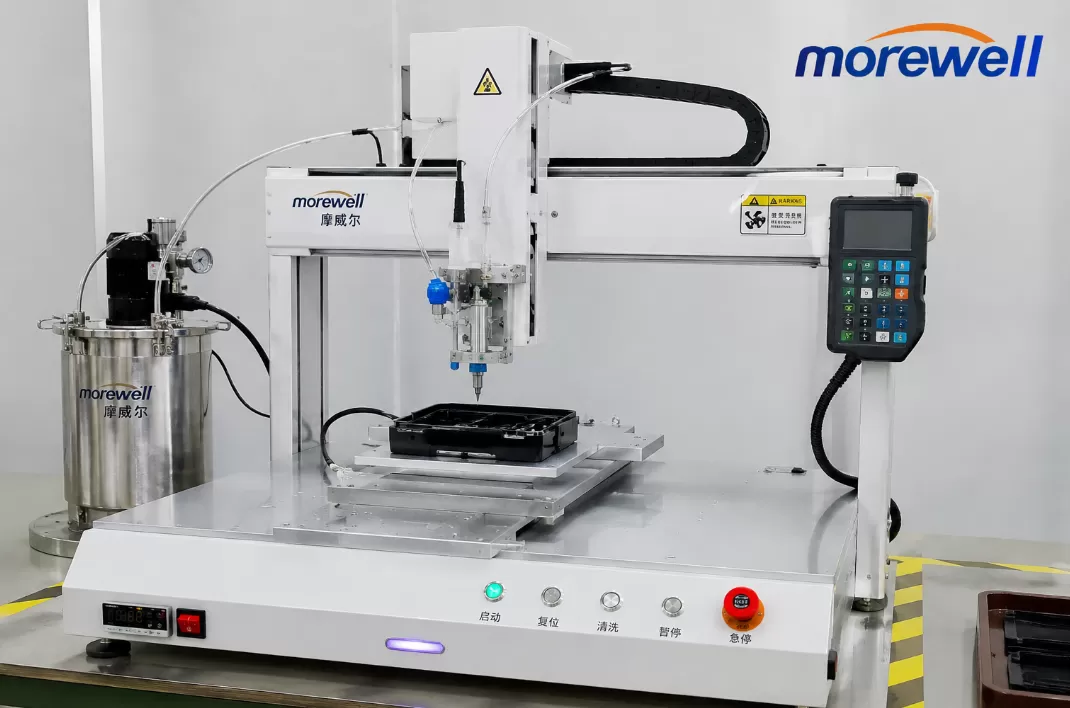
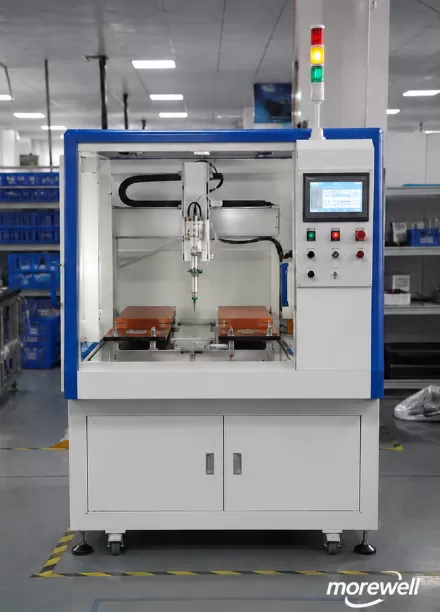
2. Machine Setup and Programming
Once the material is ready, we move to the glue dispensing machine setup.
In our factory, most systems are 3-axis or 4-axis automatic dispensing machines. The process includes:
- Installing the correct needle size based on glue viscosity
- Adjusting dispensing pressure and speed
- Calibrating the XYZ positioning
- Importing or programming the dispensing path
Programming is critical. We define the dispensing pattern (dot, line, circle, arc, filling, etc.) according to the product design. For example, PCB sealing requires uniform bead width, while electronic component bonding demands precise dot placement.
Before mass production, we always conduct a sample test to fine-tune parameters.
3. Surface Preparation
This step is often underestimated, but it’s extremely important.
We make sure the substrate surface is:
- Clean (no dust, oil, or moisture)
- Properly aligned and fixed
- At the correct temperature if required
Even the most advanced glue dispensing machine cannot compensate for poor surface preparation.
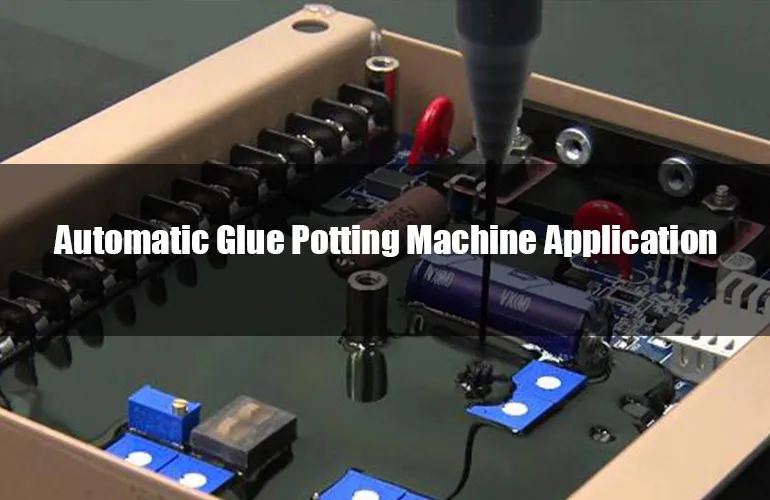
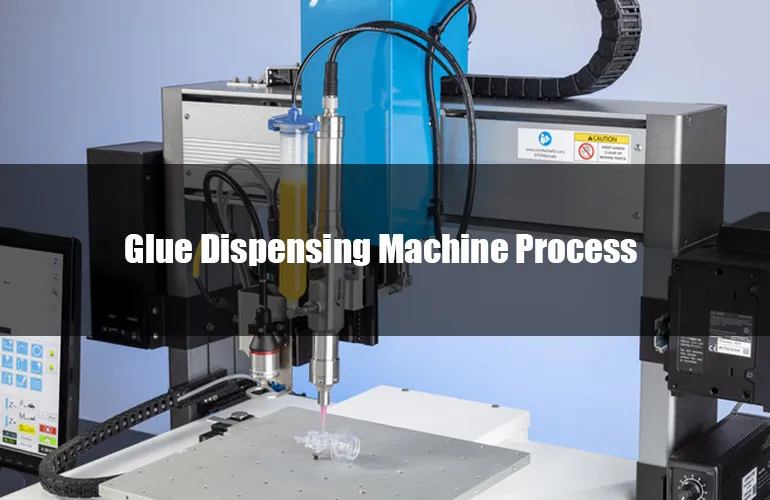
4. Dispensing Execution
Once everything is ready, the automatic dispensing process begins.
During operation, the system controls:
- Glue output volume
- Dispensing speed
- Movement accuracy
- Repeatability
Modern dispensing machines maintain high precision, often within ±0.02 mm, ensuring consistent results across thousands of cycles.
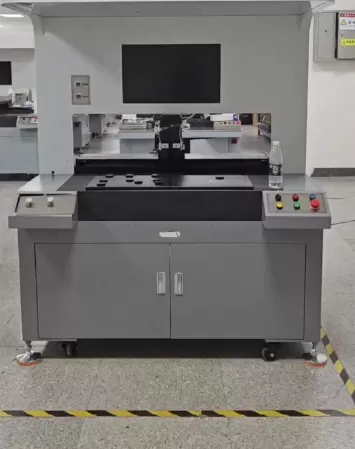
For high-volume production, we use dual workstations. While one fixture is dispensing, the operator can load or unload the other side. This significantly improves efficiency.
5. Curing and Post-Processing
After dispensing, curing begins. Depending on the adhesive, this could involve:
- Room temperature curing
- Oven heating
- UV light curing
We monitor curing time carefully. Premature handling can affect bonding strength, while excessive heat can damage sensitive components.
Once cured, we perform visual inspection and sometimes functional testing to confirm bonding integrity.
6. Quality Control and Optimization
In our experience, glue dispensing is not a “set it and forget it” process. We regularly:
- Check dispensing consistency
- Inspect bead width and height
- Monitor glue consumption
- Maintain and clean nozzles
Preventive maintenance is essential. A clogged needle or unstable air pressure can cause defects quickly.
Continuous optimization allows us to reduce material waste and improve overall yield rate.
Key Components and Technologies
| Component | Function |
|---|---|
| PLC / Controller | The "brain" that manages movement, pressure, and flow rate. |
| Vision Systems (CCD) | Cameras that identify part location and orientation to adjust the dispensing path automatically. |
| Dispensing Valve | Controls the start/stop and volume of the adhesive. |
| HMI (Touchscreen) | Allows operators to input parameters like mixing ratios and dispensing speed. |
Final Thoughts
From material preparation to final inspection, the glue dispensing machine process is a controlled and systematic workflow. When properly managed, it delivers stable quality, reduces labor costs, and ensures repeatable production results.
If you are looking to improve your dispensing efficiency or need a customized solution for your production line, feel free to contact us — our engineering team is ready to support your project with professional guidance and reliable equipment.